Installing iLO Amplifier Pack
HPE recently announced that their HPE InfoSight service now supports servers. This is something we have been waiting for and we're eager to check out the new functionality.
The server integration in InfoSight requires iLO Amplifier Pack to be installed and integrated with InfoSight.
In our environment we are using HPE OneView to manage our servers so the Amplifier Pack isn't something we have tested as some of the functionality is overlapped in OneView. When the Amplifier pack came out I seem to recall that you couldn't add in a server which was also managed by OneView. This makes sense since both products can make changes to the servers. Now in Amplifier pack version 1.30 adding OneView controlled servers are supported, they will be set in a "monitored" state meaning that changes is stilled controlled by OneView.
With that we decided to give it a try with the ultimate goal of integrating it with HPE InfoSight.
This post will show how you deploy and configure iLO Amplifier Pack. The InfoSight integration will be the focus of a future post.
Deploy Amplifier Pack
The Amplifier Pack is shipped as a virtual appliance. For downloading you'll need to register, and you will receive an activation code. After downloading and unpacking the .ova file you deploy it your environment (vSphere is the only supported platform as of this writing).
The VM has the following (minimum) requirements:
- 4 vCPUs
- 8 GB RAM
- 100 GB HDD space
- Two 1 GBps network cards
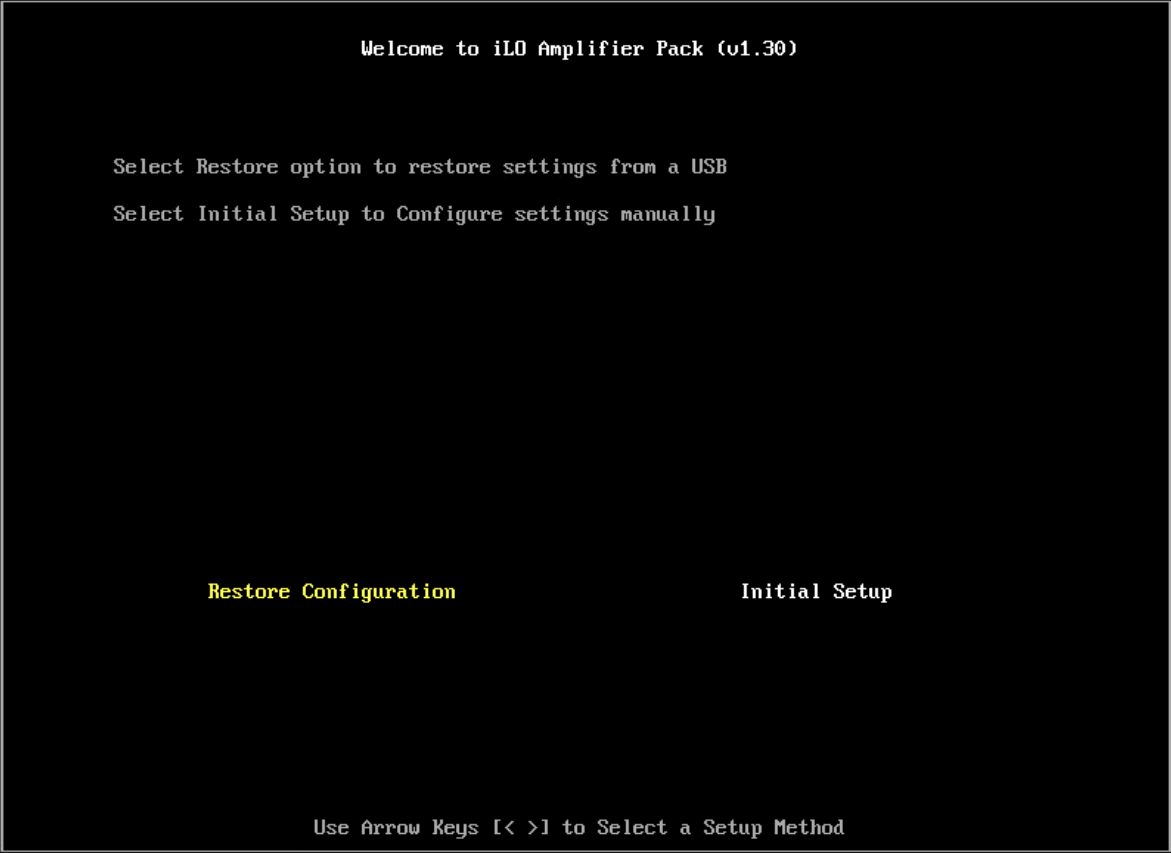
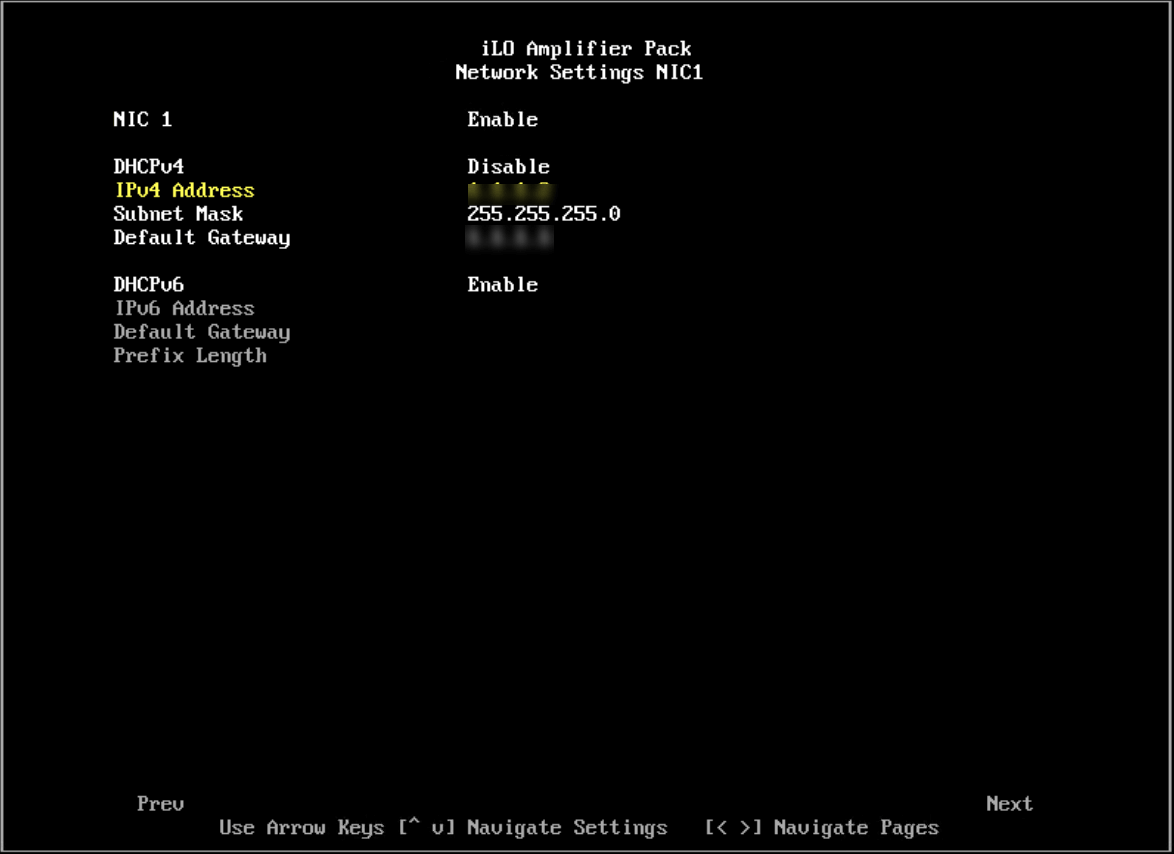
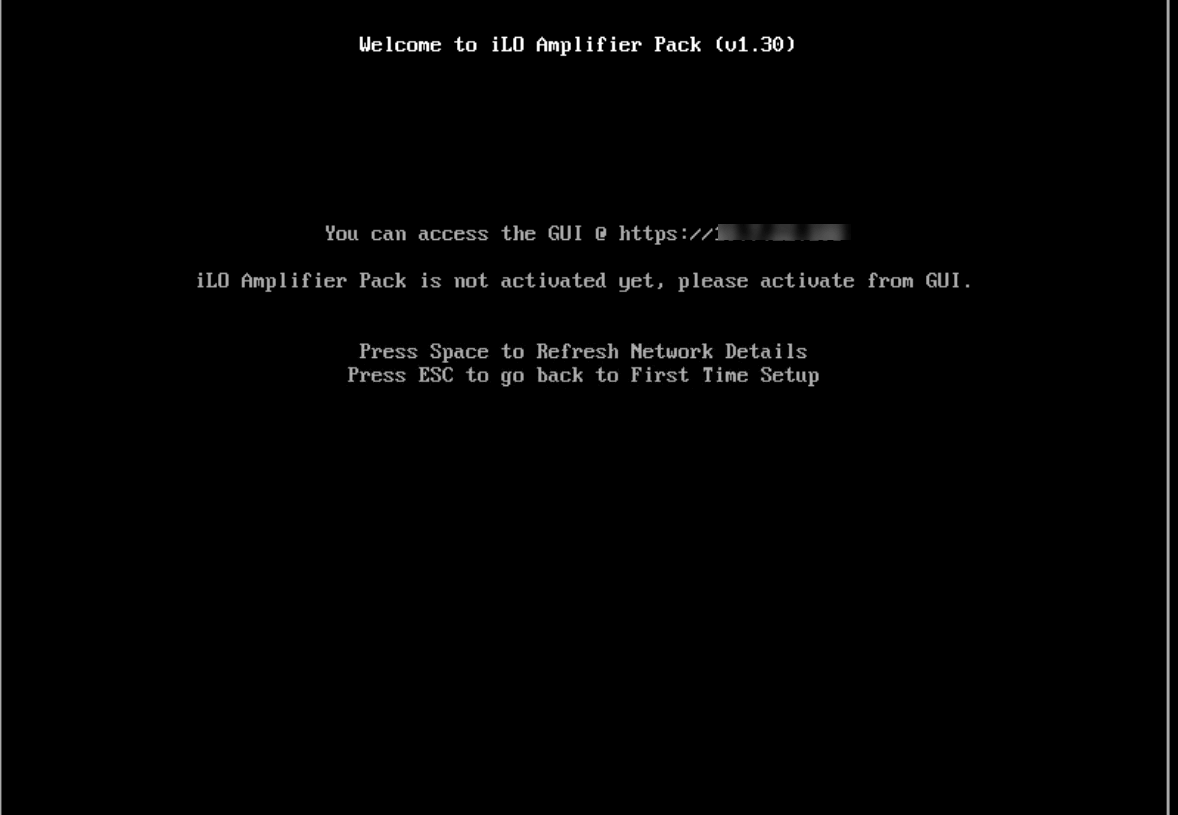
When deployment of the appliance is finished you start the VM and after a short while you need to go through the first time setup in the VM console. During the first time setup you configure the IP address settings of the appliance and when this is finished you should be able to reach the web gui through the configured address.
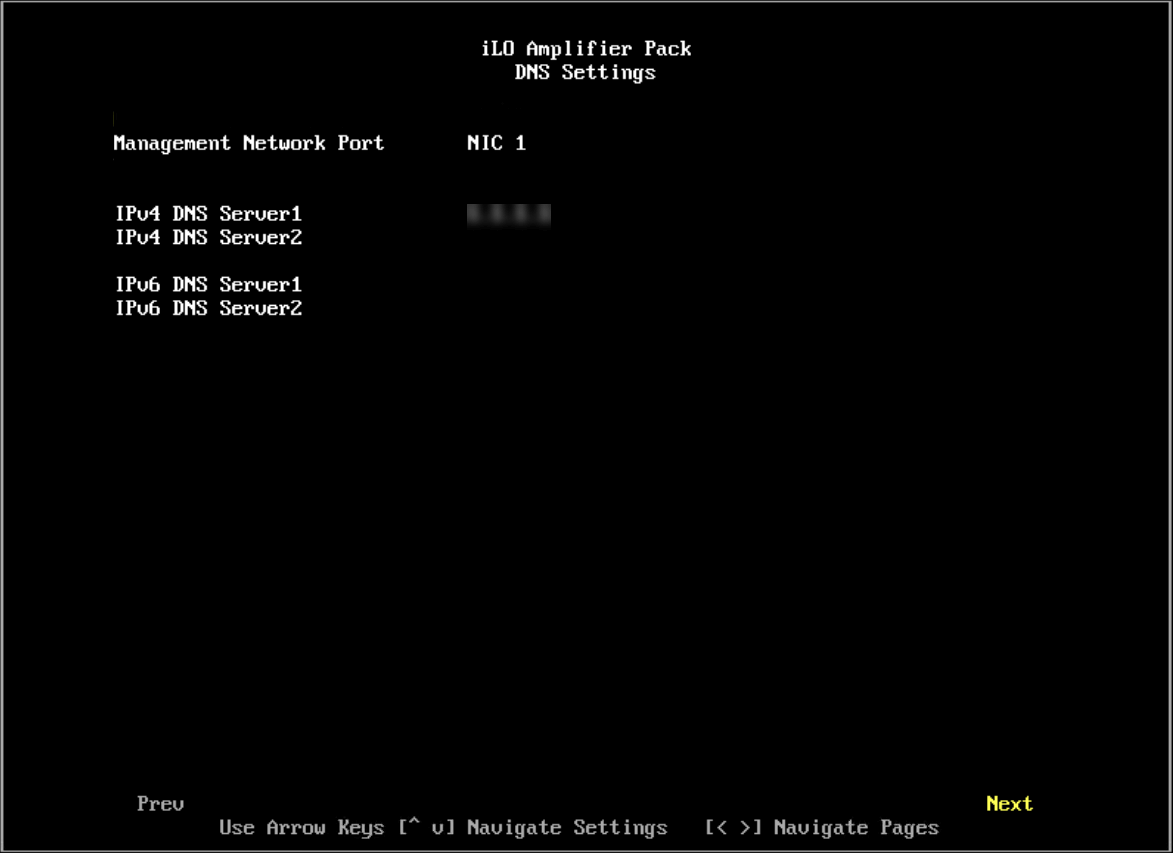
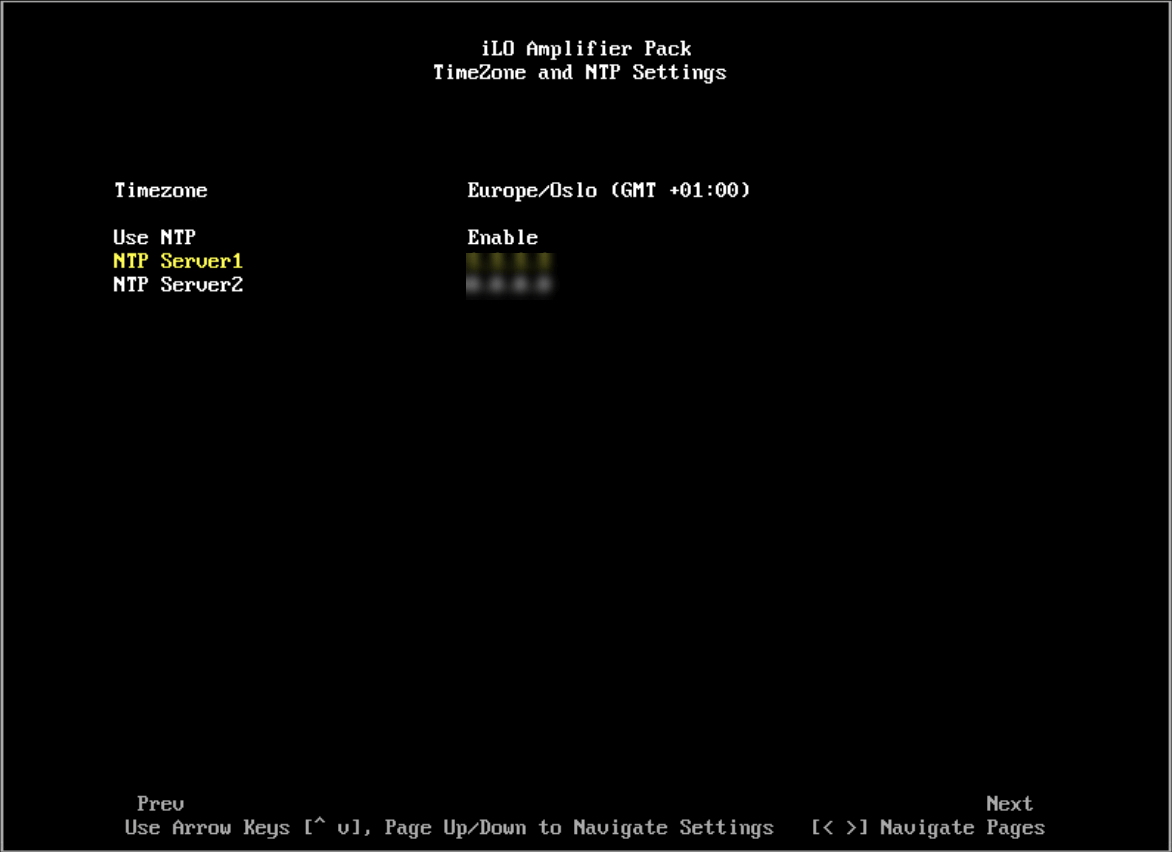
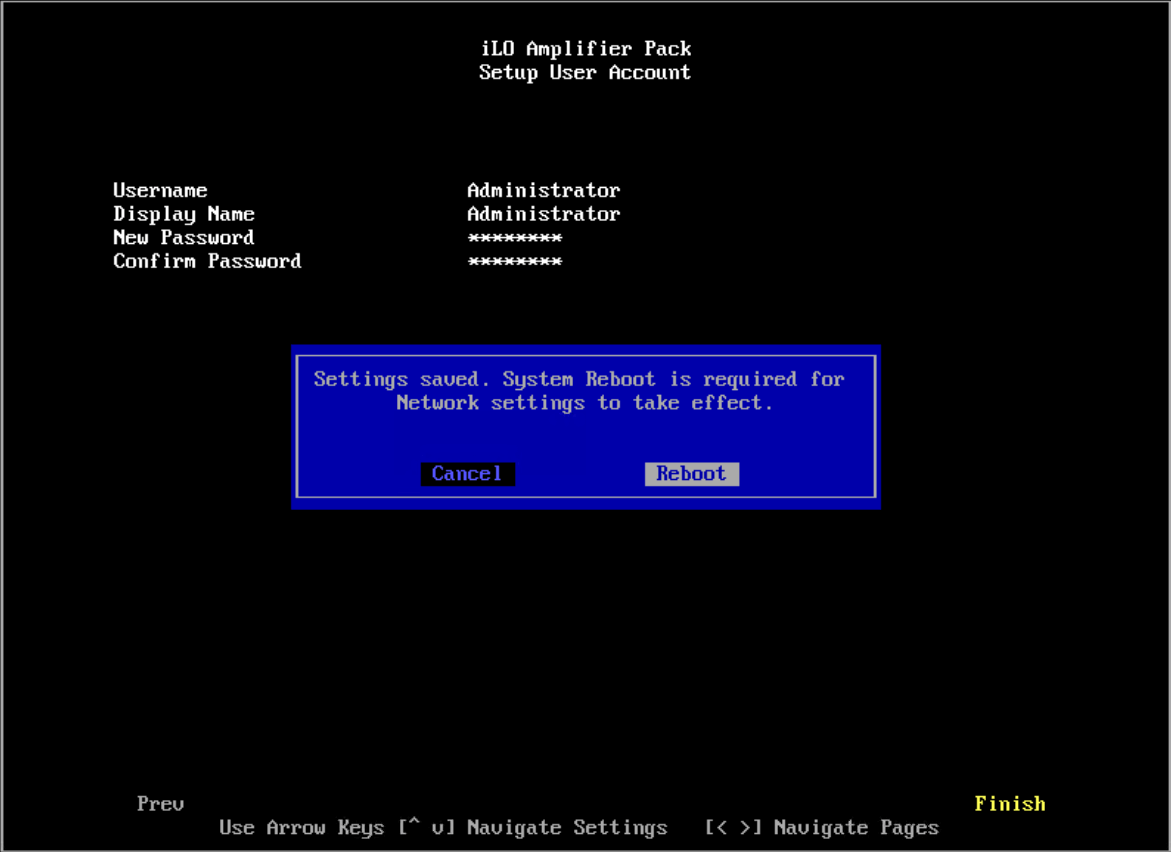
So we run through the setup screens, accepting the EULA, configuring the IP for NIC 1 and optionally NIC 2, DNS and time configuration. The last screen lets you set your own password for the Administrator account.
OVA Deployment
OVA Deployment
OVA Deployment
OVA Deployment
OVA Deployment
Config finished
After a reboot you should be able to reach the Web GUI on the configured IP Address.
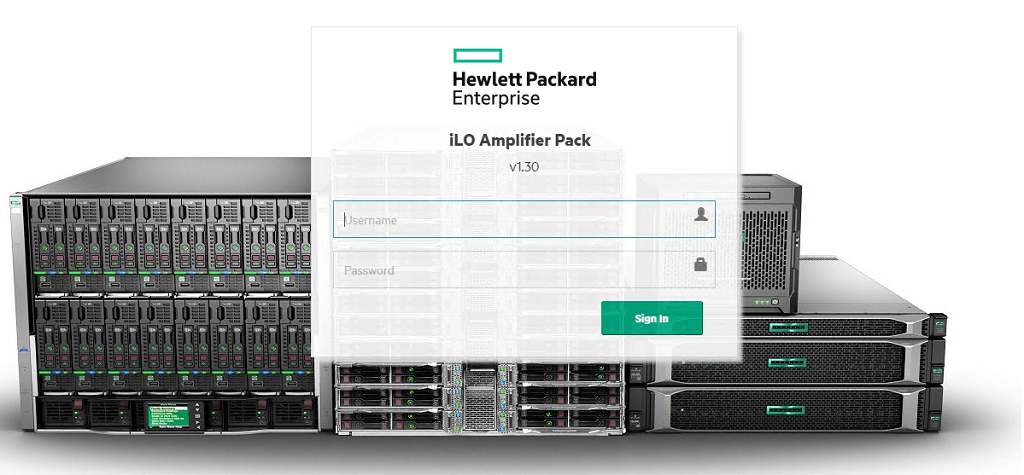
Web gui
Activation
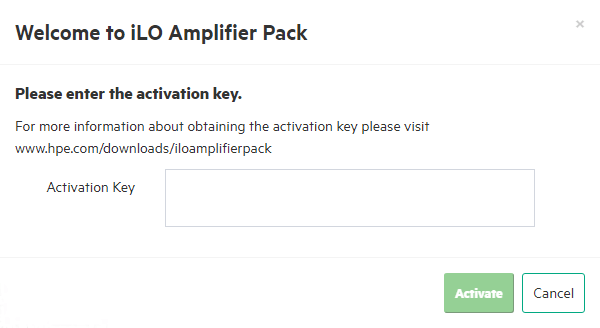
After logging in with the administrator account you will have to enter the activation key. This key was sent to the email used when registering the download of the product.
Activation
After the instance is activated you'll get redirected to the dashboard which is nice and empty at this point
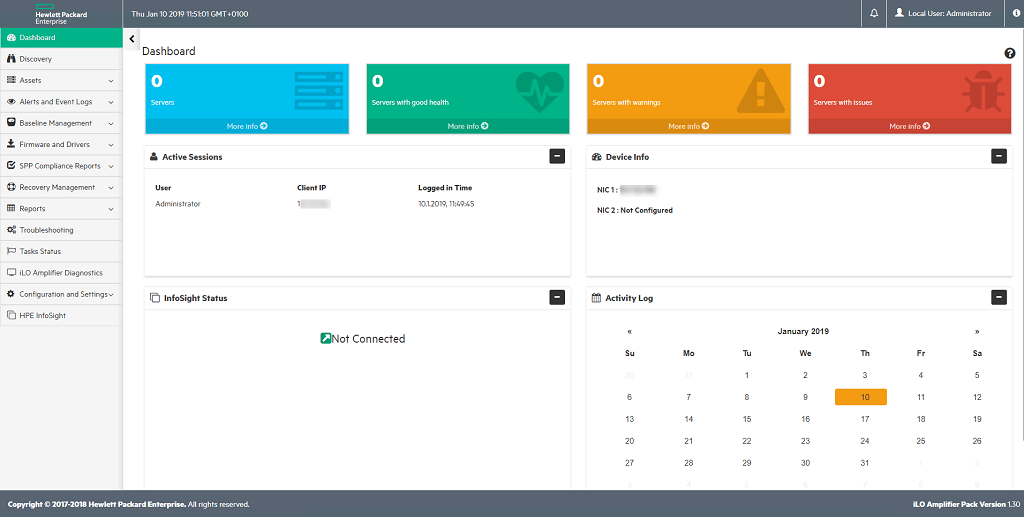
Dashboard
The first time setup will not set the host name of the appliance so I will first configure this under _Configuration and Settings _-> Network Settings -> General Settings.
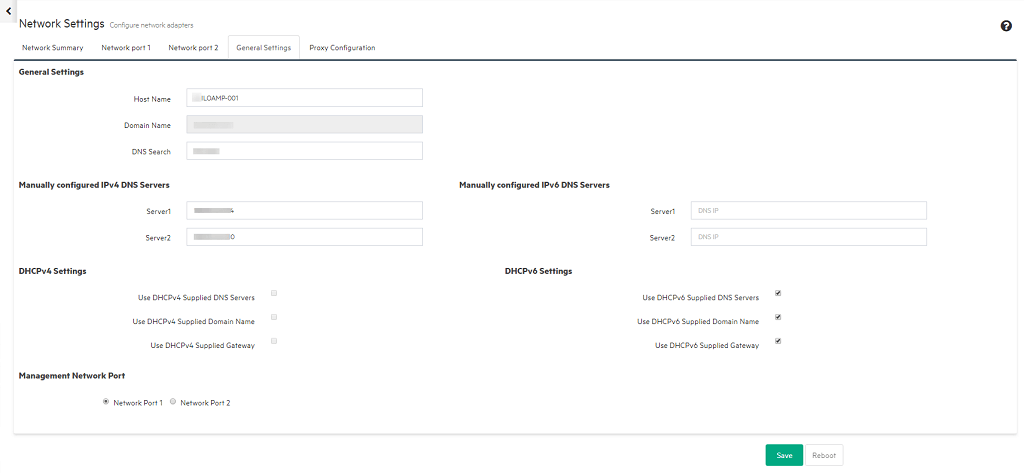
Configure name
Note! After changing the network settings you will need to reboot the appliance to have it take effect.
The Amplifier is now ready to use, but I want to configure the Active Directory integration before doing anything else so I can use my own account instead of the local Administrator.
Active Directory integration
To configure the Active Directory integration we'll go to Configuration and Settings -> Security Settings -> Directory
In this tab we check the Enabled checkbox, select Active Directory as type and then give the Base DN, Directory Server address and Port and potentially select the Secure Connection option
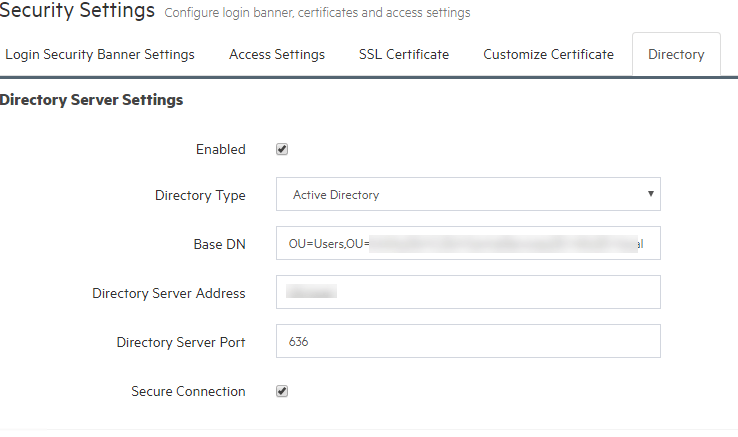
Directory server settings
We will also configure which AD groups should have access to the Amplifier pack. This is done in the Configuration and Settings -> User administration -> Directory Groups tab
Here we'll add the group Distinguished name and the privilege the group should have. The available privileges at this point is:
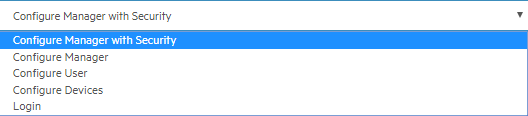
Group privileges
We've added two groups in our instance. One to map to the highest privilege Configure Manager with Security (Admin) and one to map to the lowest Login (Read-only)
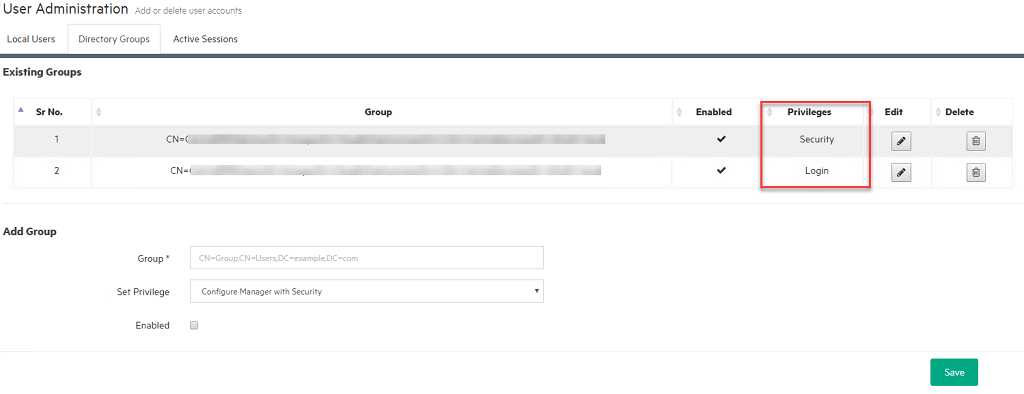
Directory groups
At this point I will verify the integration by logging out of the local administrator and in with my AD account.
Server Management
Now let's take a look at adding a (OneView managed) server to the Amplifier. You either go to the Discovery page or to Assets -> Servers -> Add Server
From discovery you can add a single server, an iLO Federation group or a range of IP Address for the Amplifier to discover.
We will add a single server and we're doing this from the Add server dialog in the Assets page. We'll specify the IP Address and credentials for the iLO and click Add.
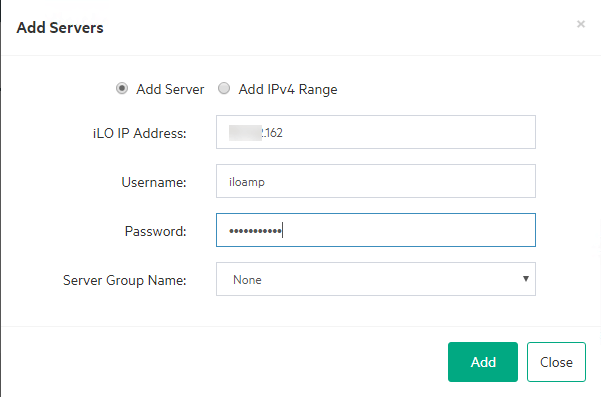
Add server
The amplifier will discover the server and after a short while you will see the server in the Server Management overview page.
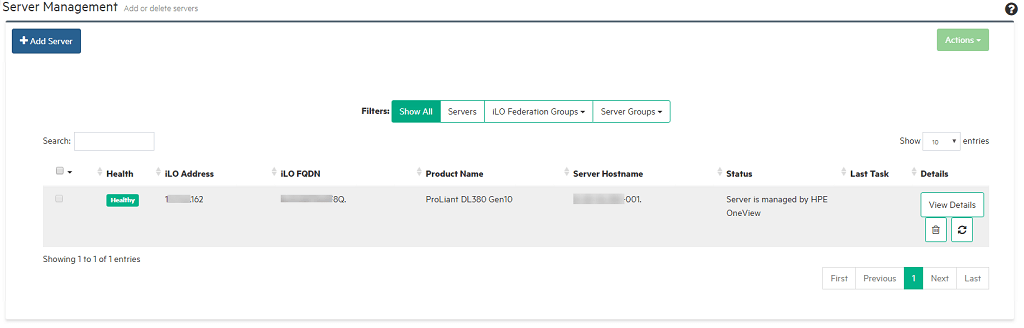
Server management
If we check the server details we will get a lot more information about the server. Notice the bar at the top notifying about that the server is being managed by OneView.
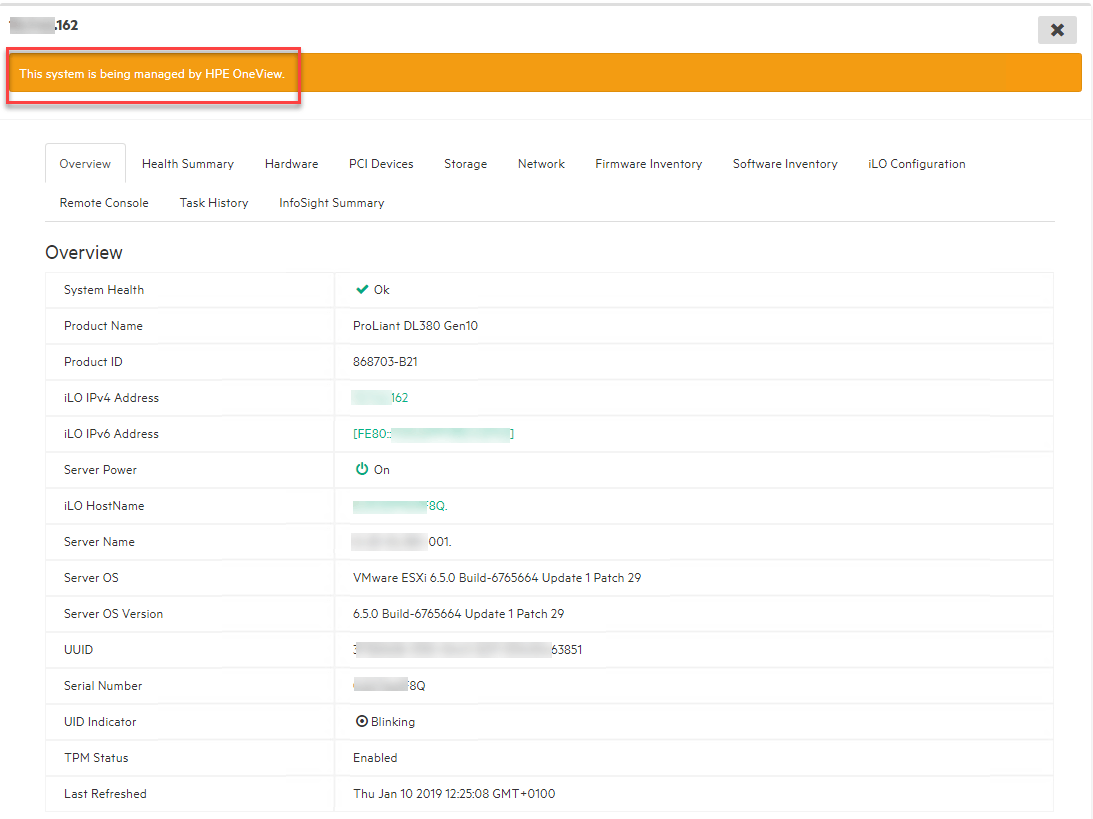
Server details
We'll add in one more server which has a warning in OneView.
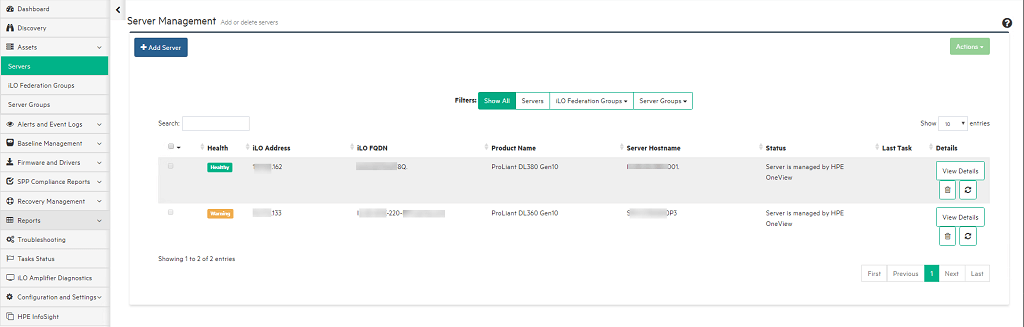
Server Management overview
If we go in to the details of the server and to the Health Summary we can see the components throwing the errors
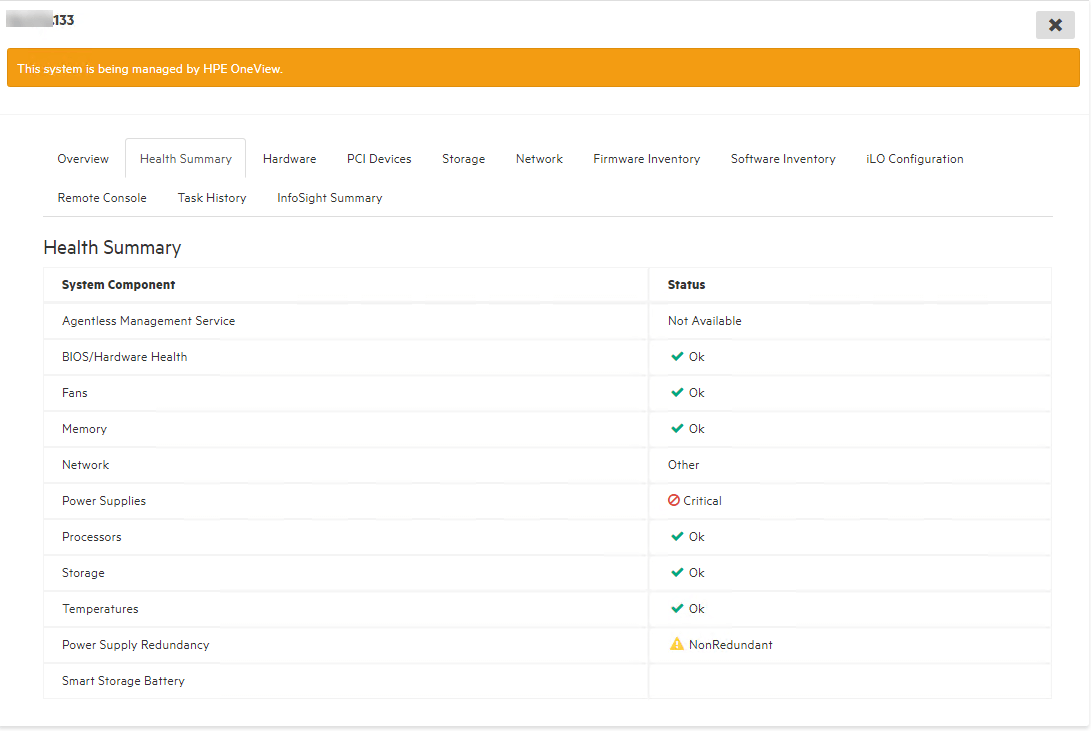
Server health
With a couple of servers added to the Amplifier let's check out the Overview Dashboard
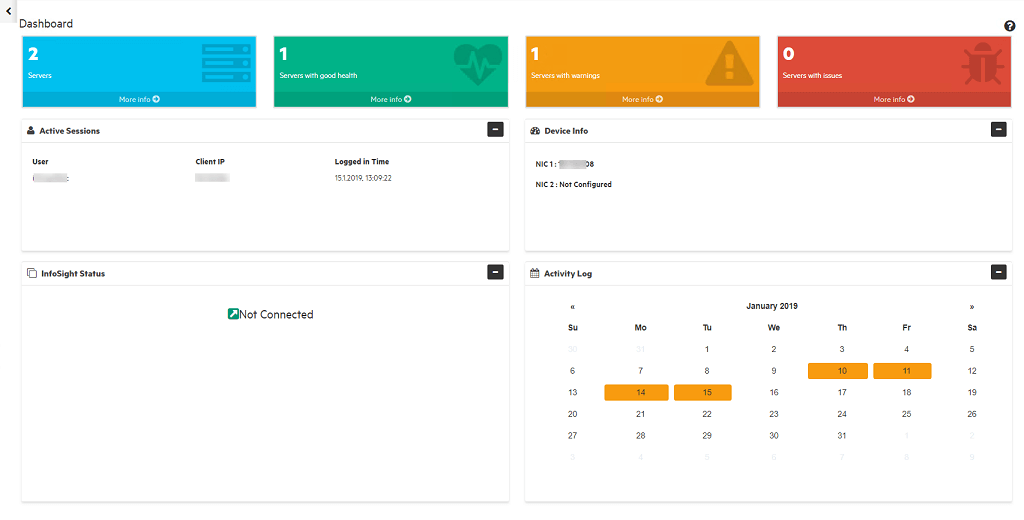
Overview dashboard
We can quickly get an overview over the status of our servers, and we can drill down in the different statuses to filter the Server management page accordingly.
Logs and reports
From iLO Amplifier we can also pull different logs and reports.
The Alerts and Event Logs page gives us a list of different alerts and log events from our servers. These can also be exported to CSV
From the Reports page we can extract informational reports about Firmware, License, Devices, Hardware Inventory and also a Custom option where you can build your own report. The below screenshot is an example of the License Report
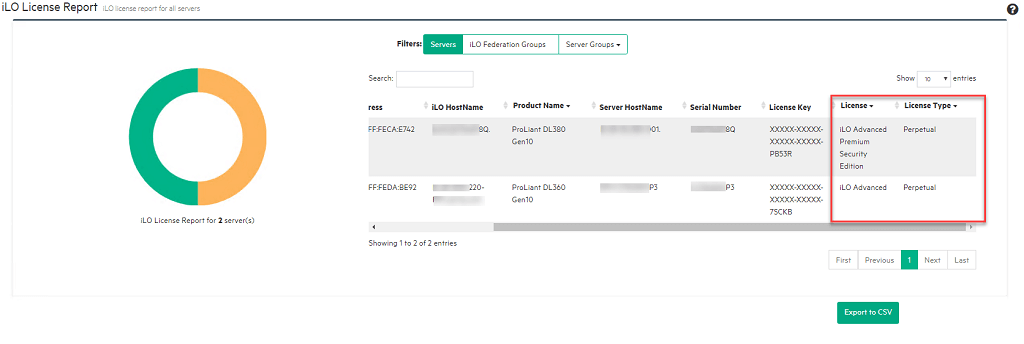
License report
Server Management
As I mentioned early in this post we are using HPE OneView for managing our servers hence we are not able to do any actions on these servers. I plan to check out how the Amplifier can perform things like firmware updates etc with a server outside of OneView in a future blog post.
Summary
This post have shown the steps involved in deploying, configuring and adding in a few servers to iLO Amplifier Pack. The process of setting this up is fairly simple and you can get up and running quickly. At least for the monitoring part.
For more information about how you install, configure and administer the iLO Amplifier please refer to the User guide